Improve your Windows Command Prompt and PowerShell experience with ConEmu
Like many other developers I'm sure, I spend quite a bit of time in command line applications (Windows CMD, PowerShell, etc.). Unfortunately, these applications don't offer a lot in terms of customization. So I use ConEmu - a highly customizable, tabbed console emulator that lets you run any shell you want.
This post describes how to setup ConEmu, and how I have configured it on my dev PC. Your preferences may vary but hopefully it will show you what's available to you.
Install ConEmu
First step is to download the latest version of ConEmu. Pick the installer for either the latest preview or stable version.
Run the installer, choose the 32-bit or 64-bit option (depending on which version of Windows you have installed), and keep all the default options.
Start ConEmu
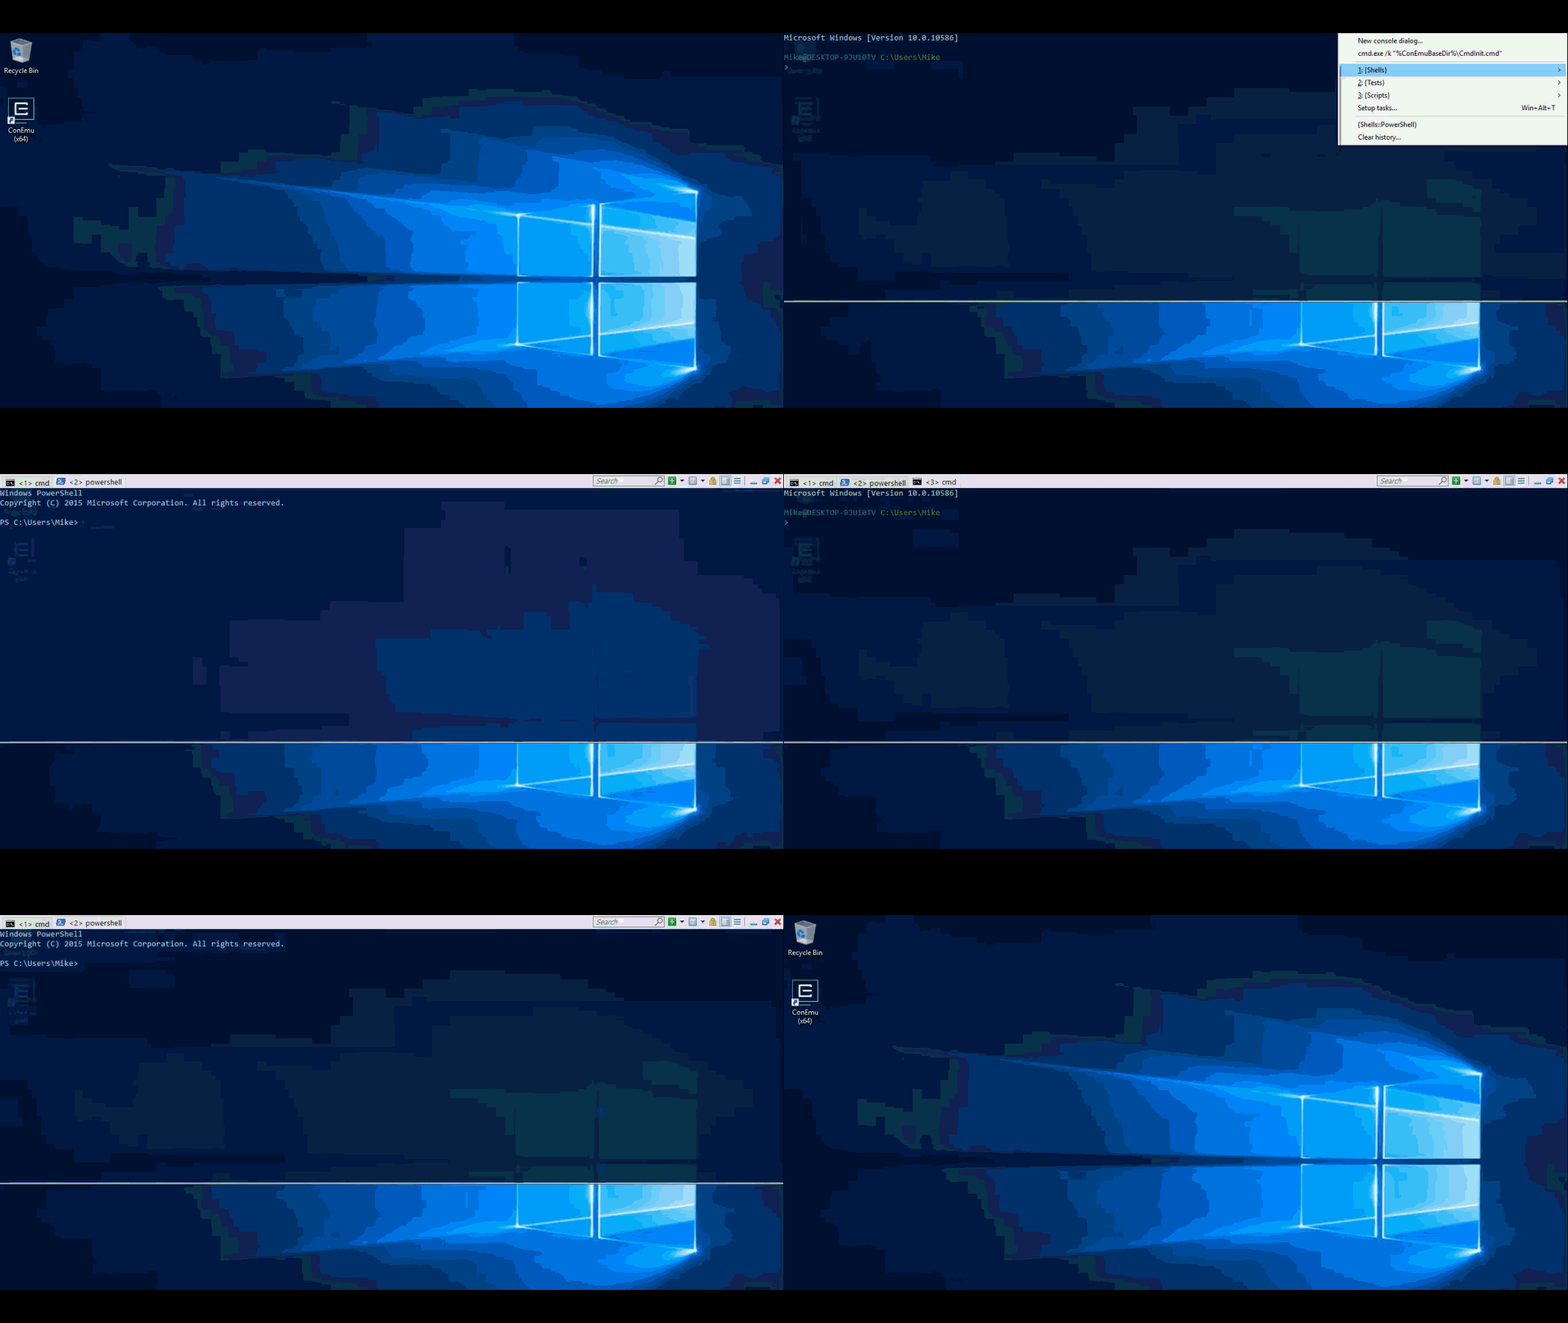
Once installed, start it up. The first time you run it, you'll be presented with a fast configuration screen. Everything here can be changed later but it's a good place to start.
Select from the dropdown which task you want as the default when you startup ConEmu. You can select from CMD and PowerShell in their various guises for now, but you can add other shells and configurations later if you wish.
Pick your colour scheme (I'm a fan of Solarized), and check 'Quake-style slide down from the top of the screen' (you want this). You can also enable automatic updates here if you like.
Click OK and you should see ConEmu start with the shell you selected as the startup task.
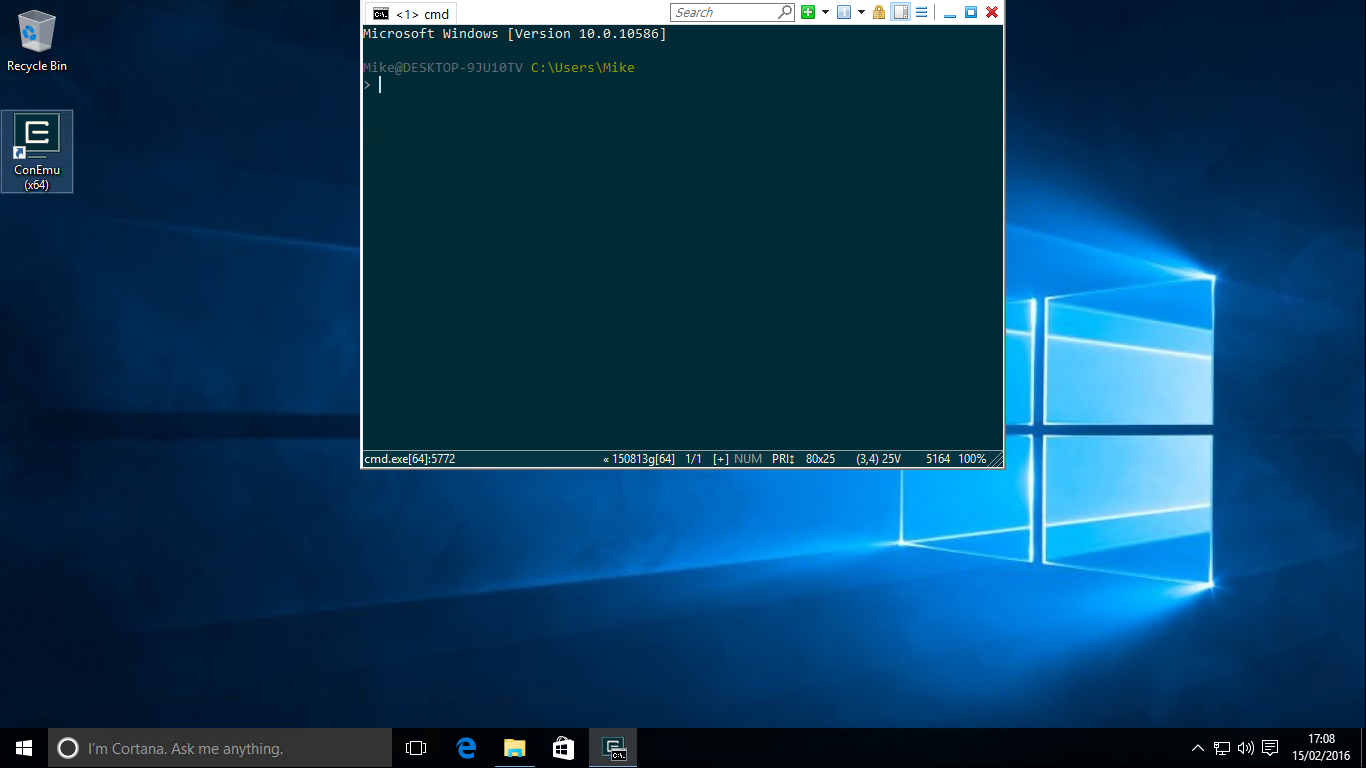
Looks good but we can improve it with a few tweaks.
Keyboard shortcuts
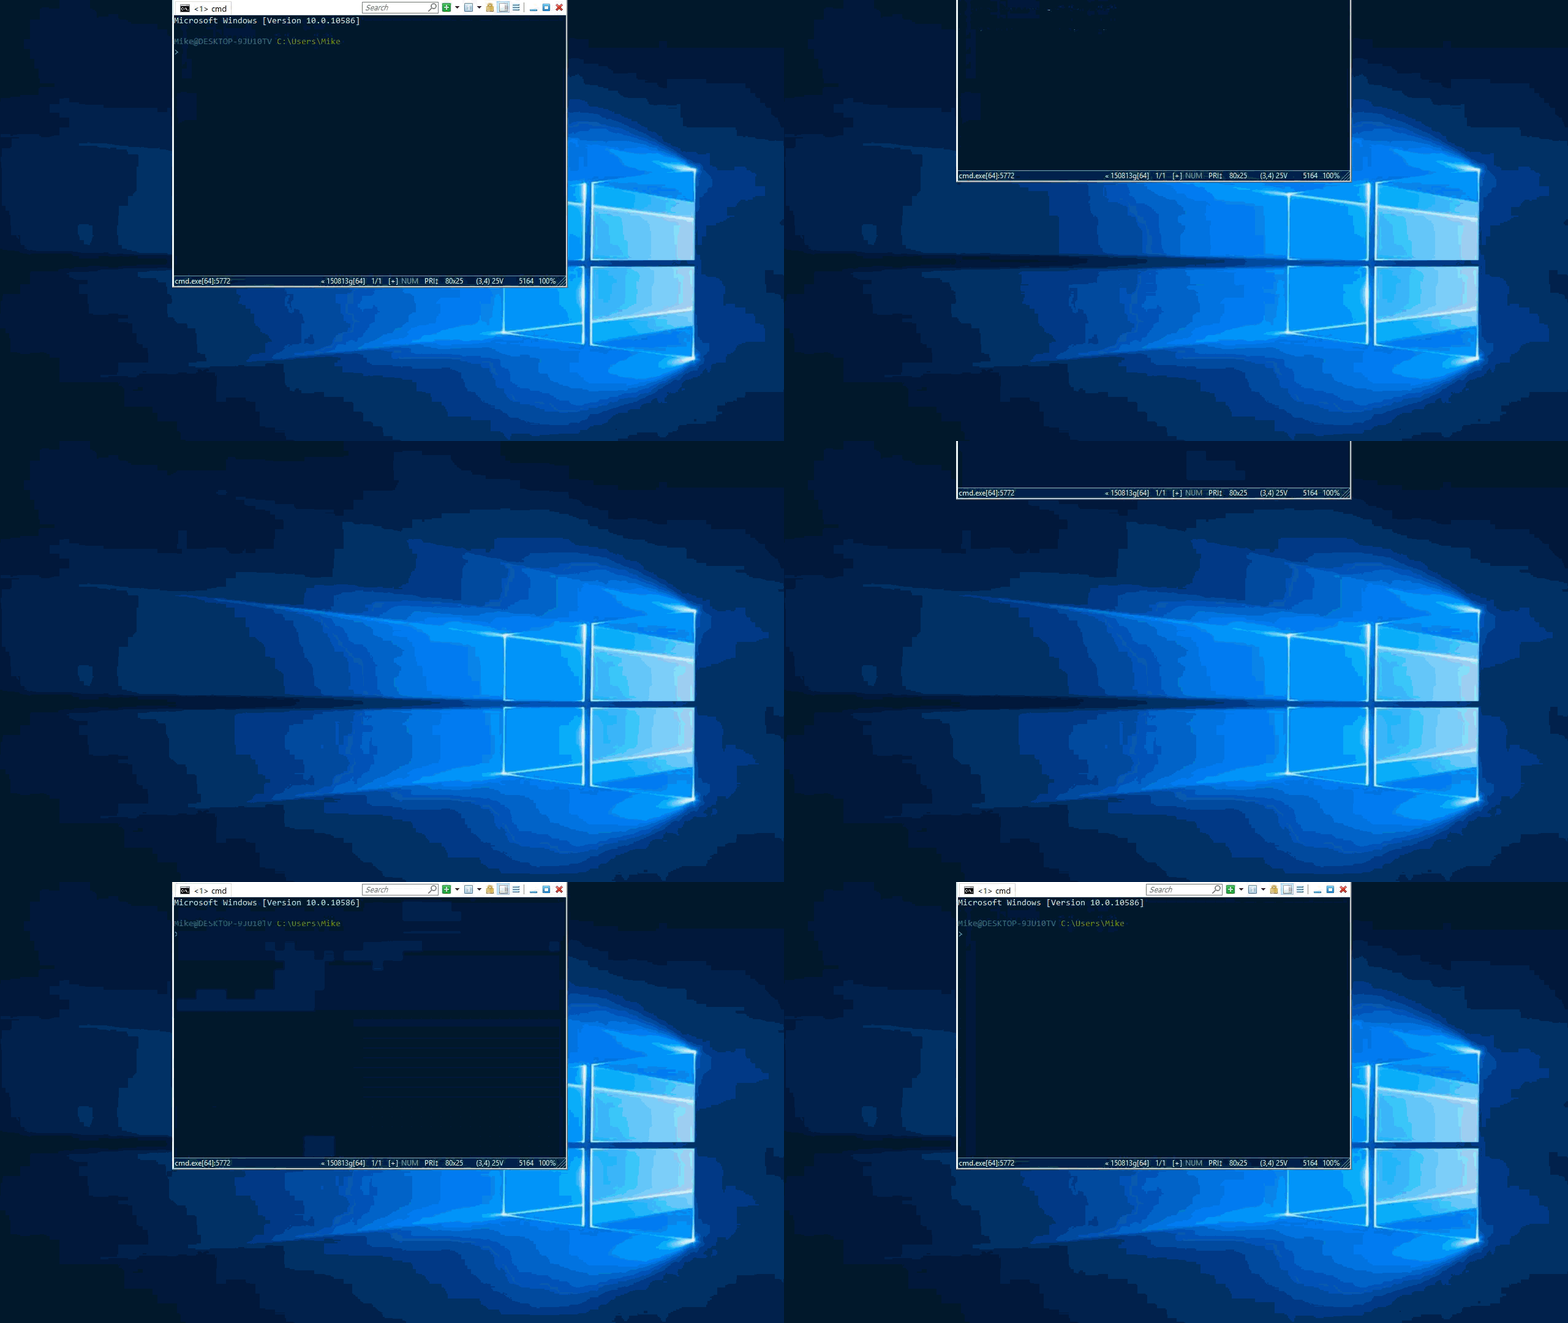
First up is getting the keyboard shortcuts working properly. You might have noticed when you checked that Quake dropdown box that it was bound to Ctrl+` for the shortcut. I found this did nothing at first, but you can fix this by assigning the shortcut to something else (you can re-assign it back to Ctrl+` after and it seems to work OK). To do this, right-click the menu bar at the top, select 'Settings..' and go to 'Keys & Macros'. You'll see the first item in the hotkeys list is for 'Minimize/Restore (Quake-style hotkey also)'. Select it, choose another hotkey and save the settings.
You should now find the Quake dropdown works correctly.
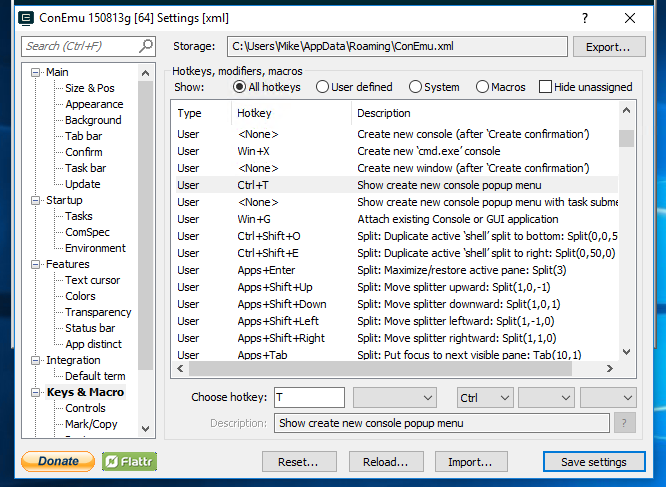
Whilst we're changing keyboard shortcuts, here's a couple around managing tabs that I found useful to change from the defaults:
- Show create new console popup menu - change from Win+N to Ctrl+T (it's basically open new tab)
- Close current tab - change from Win+Alt+Delete to Ctrl+F4
You also might want to memorize the hotkey for 'Settings dialog' (Win+Alt+P), as we'll be removing the menu bar in a moment.
Size & Appearance
As I mentioned, ConEmu has tons of customization options, especially in terms of the UI, so here's how I've set it up to look.
Open up the settings again, and select 'Main' if you want change the main font used. Personally, I quite like the default Consolas at size 14. Otherwise, go to 'Size & Pos' and change 'Window Size' from 'Normal' to 'Full screen'. Since it's so easy to drop the console down from the top of the screen, I find it more useful when it uses the full width.
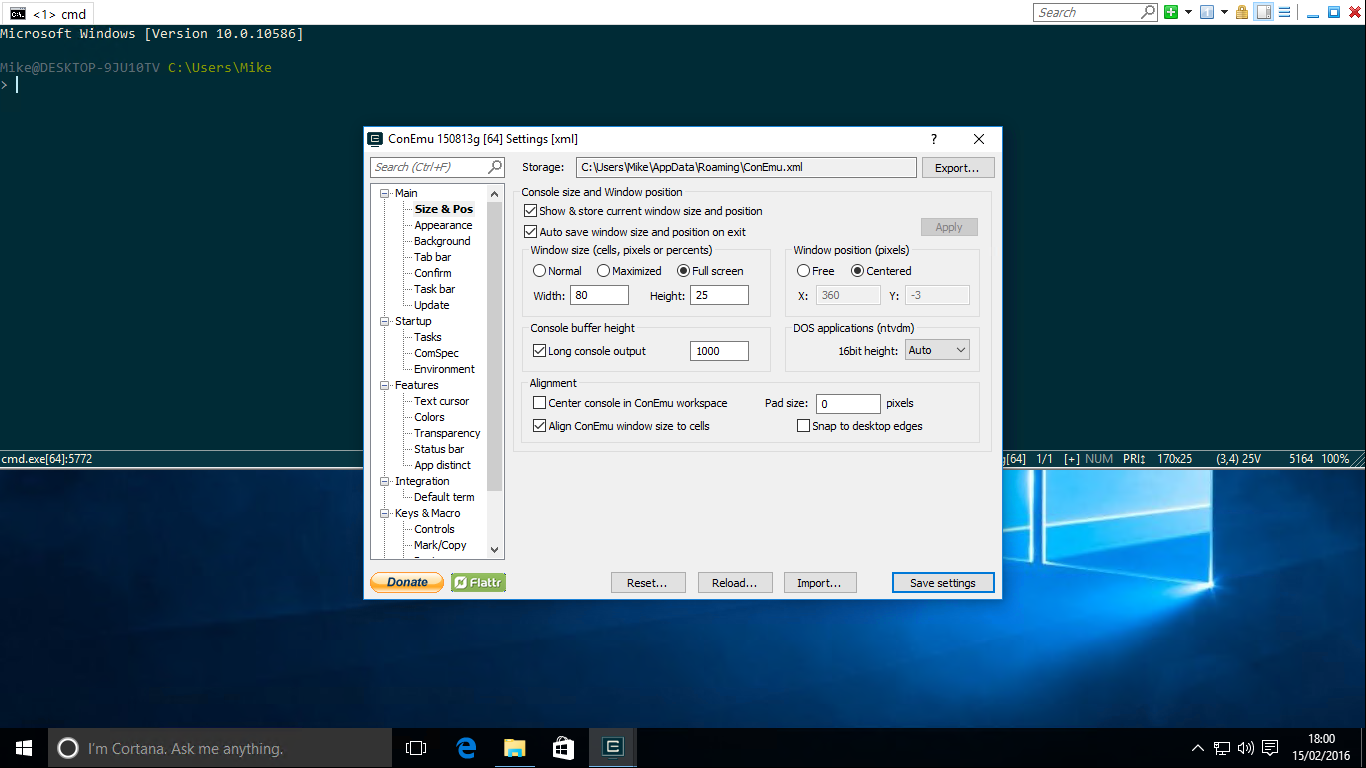
Next go to 'Tab bar' and change 'Always show' to 'Auto show' - I think it looks slicker for the 95% of time when you only have one tab open. Also, go 'Status bar' under the 'Features' category and uncheck 'Show status bar' to remove the status bar from the bottom of the window (I never use it).
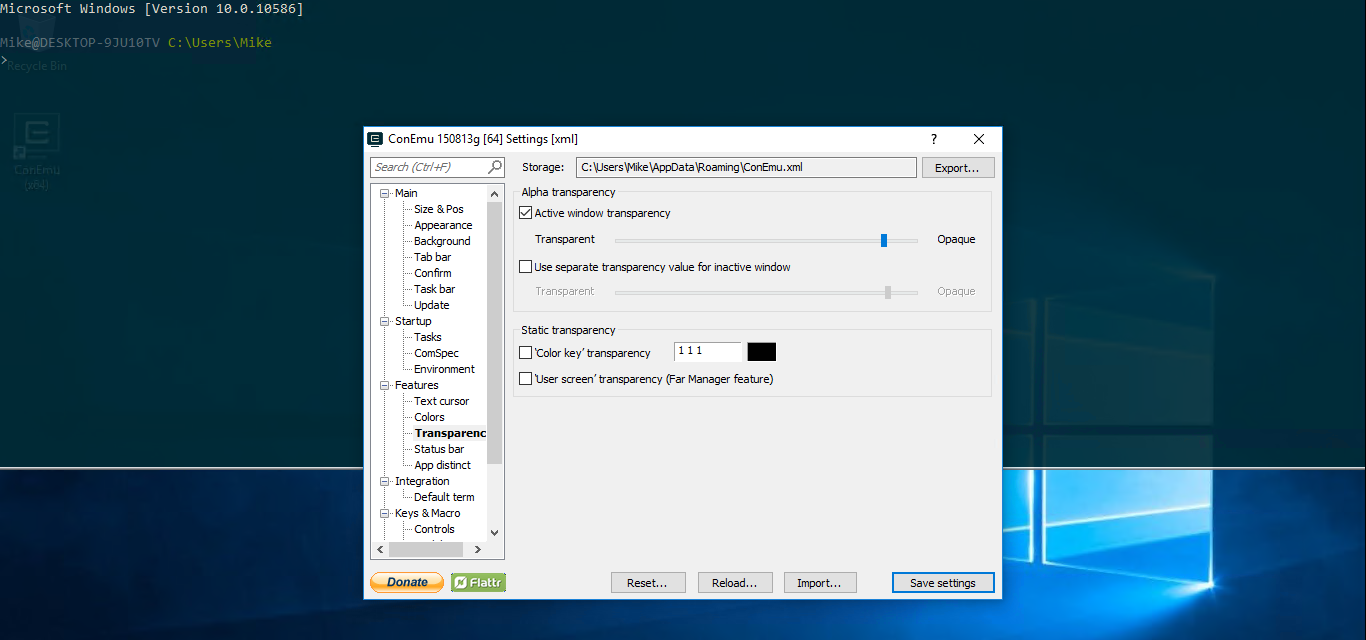
Finally, go to 'Transparency', check 'Active window transparency' and set it to whatever you think looks good. Now you should have a much cleaner looking console window.
App-specific overrides
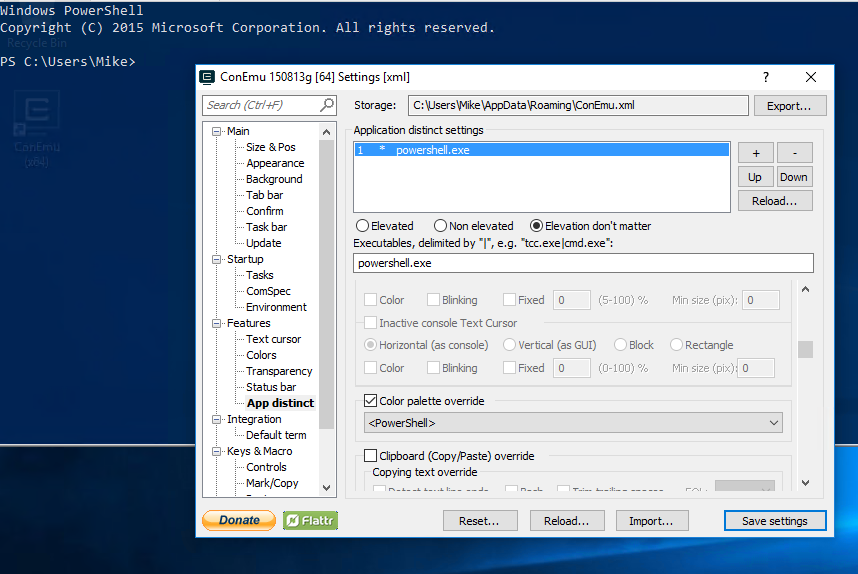
By default, the appearance settings you configure apply to all console applications you run in ConEmu. But you can override the settings for a specific app, if for instance you want your PowerShell to look PowerShelly (blue).
Go to 'App distinct' under 'Features' in settings, and click the plus symbol to add a new settings configuration. Under executables, enter the applications you want the configuration to apply to, then select the settings from the list below that you want to override.
Adding new tasks
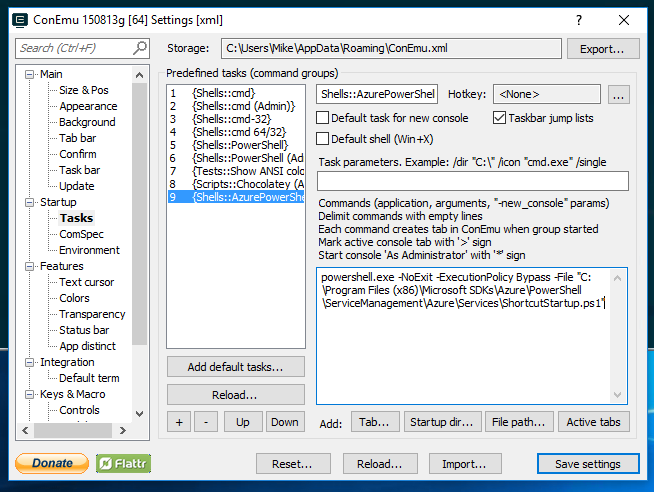
If you want to extend ConEmu for new tasks, either more shells (e.g. Git Bash) or just a set of commonly used parameters for the existing shells (e.g. I use the Azure PowerShell configuration quite a bit), then go to 'Tasks' under 'Startup' in settings. Here you can add and remove tasks, or reorder existing tasks. Click the plus symbol to add a new task, give it a name, and fill in the command you want to run.
ConEmu integration
Now you've got ConEmu all set up nicely, you'll want to make sure that it's the default console window that opens up for you. Open up the settings and go to 'Default term' under 'Integration'. Check 'Force ConEmu as default terminal for console applications' and 'Register on OS startup'. This means the application will startup with Windows and you can use the Quake dropdown shortcut straight away. You'll notice in the list of hooked executables, 'explorer.exe' is included by default, so any console applications you open from Windows Explorer will open up in ConEmu.
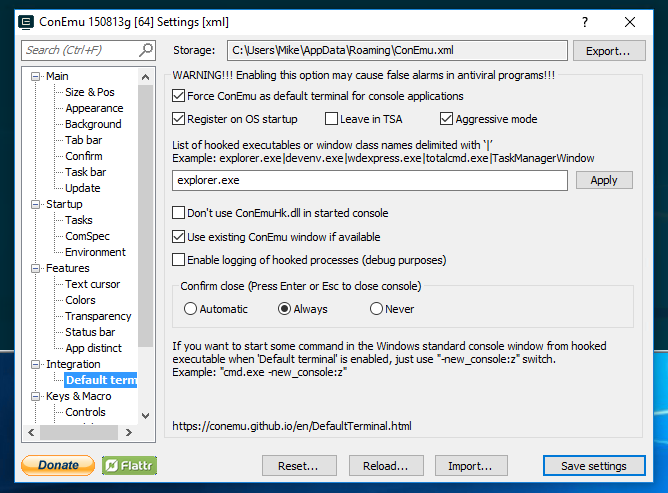
I did try to add devenv.exe to the list so that console applications I was starting and debugging through Visual Studio would use ConEmu, but I was having a few issues where it would sometimes work and sometimes crash. If anyone else has any more luck getting that working, feel free to leave a comment about how you did it!
You'll also want to go 'Task bar' settings under 'Main' and make sure 'Close ConEmu with last tab' is unselected. This means if you close up the last tab, you can still use the Quake shortcut to dropdown ConEmu without having to start up the application again.
Summary
And that's it. There are plenty more tweaks you could do to tailor ConEmu to your preferences (the full documentation can be found here), but I find these settings are good starting point for creating a sleek-looking, effective command line application. Simply drop down the console and open up your applications.
