Passwordless SSH from Windows 10 to Raspberry Pi

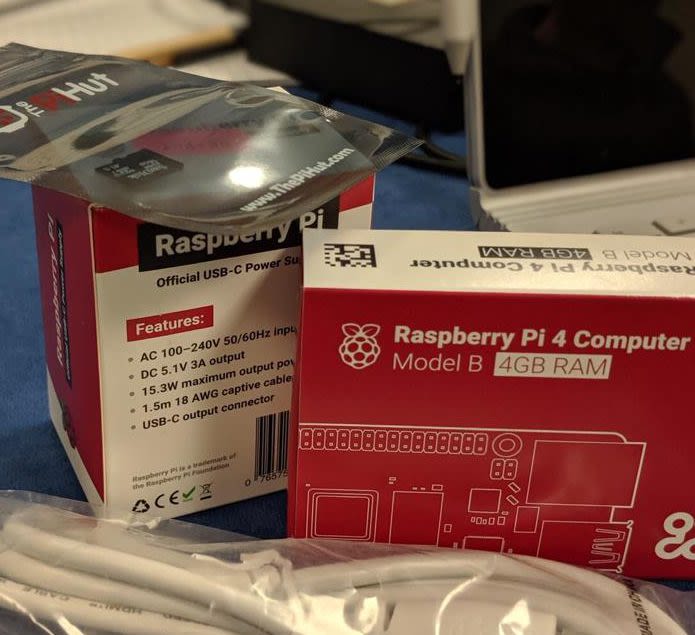
Last week, everyone at endjin was presented with a Raspberry Pi 4, with the intention that we would go away and find cool stuff to do with it.

My colleague, Jon, has already written up a post describing how to run Azure Functions in a Docker container on the Pi.
One of the best ways to develop on the Pi is to use SSH from your main development machine, rather than having to use a keyboard/mouse and monitor attached to the Pi itself.
In this post, I'll explain how to enable SSH on the Pi, how to access the Pi via SSH using a Windows 10 development machine, and then how to enable passwordless SSH access to the Pi.
Enabling SSH on the Raspberry Pi
You can enable SSH on the Pi either by running the following commands on the Raspberry Pi:
sudo systemctl enable sshsudo systemctl start ssh
Or, alternatively, you can create an empty file called ssh on the boot partition of the SD card, and the Pi will automatically enable SSH when it boots (and remove the empty file). You can use this method if you are setting up your Pi in headless mode.
Once SSH is enabled on the Pi, you should be able to remote to it using the following command from Windows 10 development machine (replacing the pi username and 192.168.0.4 host with relevant values for your setup):
ssh pi@192.168.0.4
Since the August 2018 update, OpenSSH is included as part of Windows 10, which is how we can run the above command, and how we can run the commands further below in the post for generating keys.
You will have noticed when you ran the ssh command that you were prompted to enter the password for the Pi user. This can get tiresome after some time, and also some tools won't work over SSH if password authentication is required.
In the rest of this post, I will explain how we can enable passwordless SSH between your Windows 10 development machine and the Raspberry Pi.
Create public/private key pair
First, we need to create a public/private key pair that will be used for authentication, instead of a password. Run the following steps in command prompt or PowerShell on your development machine.
Navigate to ~\.ssh folder:
cd ~\.ssh
Run ssh-keygen tool:
ssh-keygen
You will be prompted to enter the file name to use to save the key, or you can hit enter to use the default.
You will then be asked whether you want to use a passphrase to encrypt the private key. This is optional and you can hit enter to create one without a passphrase.
Finally, we will load the private key into ssh-agent. First, start the service (you must be running in an admin console):
Set-Service ssh-agent -StartupType AutomaticStart-Service ssh-agent
Then, load the private key into ssh-agent (if you used a custom file name instead of the default, change id_rsa to your selected name):
ssh-add ~\.ssh\id_rsa
This allows ssh-agent to retrieve the private key and pass it to the ssh client, when required.
Copy the public key to the Raspberry Pi
Next we need to copy over the public part of the key into an authorized keys file on the Raspberry Pi.
For example purposes, I'm still assuming the username configured on the Raspberry is pi and the host is 192.168.0.64, but change these as necessary for your setup.
(Note: You will still need to use the Raspberry Pi password for these commands)
First, make sure the ~\.ssh directory exists on the Pi:
ssh pi@192.168.0.64 mkdir ~/.ssh
Then, use scp to copy the public key over to the authorized keys file (again, if you used a file name other than the default for your key, be sure to change id_rsa.pub to your selected name):
scp id_rsa.pub pi@192.168.0.64:~\.ssh\authorized_keys
Testing it out
If everything has worked correctly, you should now be able to ssh from your development machine to your Raspberry Pi without being prompted for a password.
ssh pi@192.168.0.64


