Setting up Windows Subsystem for Linux (WSL) 2 for Windows 10 & Docker

In this post I will describe the steps needed to enable Windows Subsystem for Linux (WSL) 2 on Windows 10, and then how you can use the WSL 2 features with Docker for Windows.
In order to enable WSL 2, you first need to ensure you are running Windows 10 build 18917 or higher. At the time of writing this post, this requires joining the Windows Insider Program and enabling either 'Slow ring' or 'Fast ring' updates.
Once you have updated to a valid Windows 10 build, next step is to enable WSL. You can do this with the following PowerShell command:
You will be prompted to restart your PC. Once restarted, then install a Linux distro from the Windows Store (I used the Ubuntu 16.04 distro).
Next, ensure that the Virtual Machine Platform feature is enabled:
Now you can enable WSL 2 for your distro using the following command:
e.g.
Note: you can find a list of distro names by running:
And that should have WSL 2 enabled for your Linux distro.
Next, we need to install Docker Desktop for Windows. Use the installer here to download the latest version.
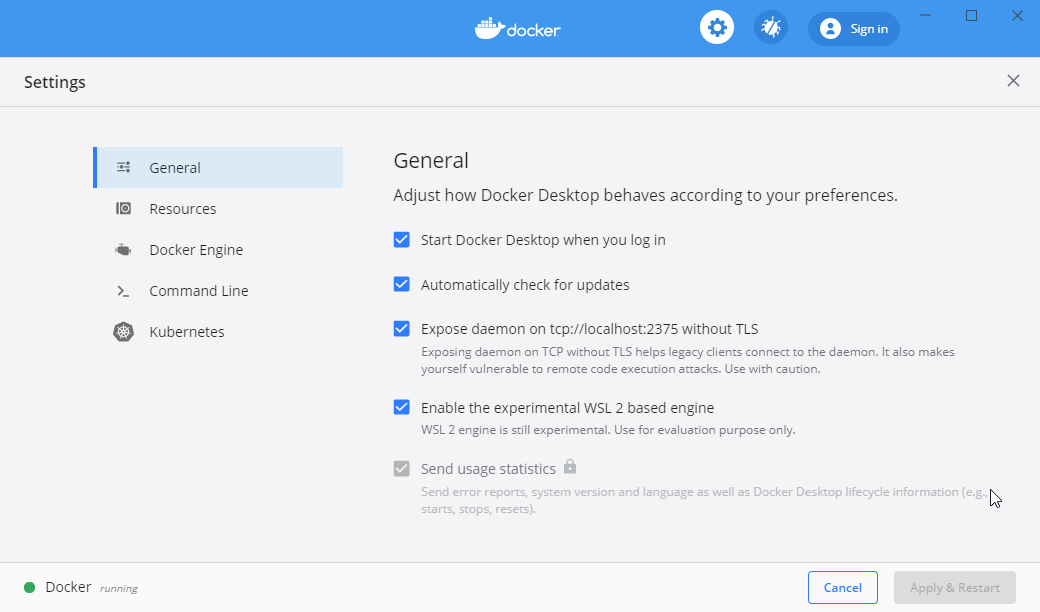
Once installed, we need to tell Docker to use WSL 2. Ensure Docker Desktop is running (you should be able to find it in the Start Menu), and then right click the Docker icon in the systray and select 'Settings'. Under the 'General' tab, ensure that 'Enable the experimental WSL 2 based engine' is checked.
You can read the Docker documentation to see the full list of advantages to using the WSL 2 tech preview.

