Setting up multiple WSL distribution instances

Windows Subsystem for Linux (WSL) allows you run a Linux enviroment on Windows, using your favourite Linux distribution. You can even install multiple types of distributions side-by-side.
However, there is no out-of-the-box way to install multiple instances of the same distribution. This can be useful for setting up isolated development environments, as one example.
In this post, we will go through the steps of how to do this.
Enable WSL
Firstly, ensure you have WSL enabled. If you are running Windows 10 version 2004 and higher or Windows 11, then simply run the following in a Windows shell (command prompt or powershell):
wsl --install
If you are running an older build of Windows, you may be able to enable WSL following these manual steps.
Install a Linux distribution
By default, if you ran wsl --install then Ubuntu will have been installed as the default distribution (you can change the distribution that is installed using wsl --install -d <distribution name> instead).
You can also install further distributions either from the Windows Store or using wsl --install -d <distribution name> (use wsl --list --online to view available distributions, for example Debian or openSUSE-42).
Set up the "base" environment
Once you have your preferred distribution installed, use wsl -d <distribution name> to open the environment.
We will use this environment as the base for the other copies, so set up anything you want to be replicated in the others.
Export the "base" environment
When you are happy with the environment, use exit to exit and return to the Windows shell.
Export the environment with the following command:
wsl --export <distribution name> <export file name>
e.g. for a Ubuntu distribution
wsl --export Ubuntu ubuntu.tar
This will export the environment as a .tar archive, ready to import.
Create new instances of the distribution
You can now create new instances of the "base" environment by importing the .tar export.
wsl --import <new distribution name> <install location> <export file name>
e.g. to create a new UbuntuDev1 distribution from the Ubuntu base:
wsl --import UbuntuDev1 .\UbuntuDev1 ubuntu.tar
If you're intrigued to know where the file systems for these instances are created, they are stored in a virtual hard disk, located at %USERPROFILE%\AppData\Local\Packages\<distribution package name>\LocalState\ext4.vhdx (as an example, the <distribution package name> for the Ubuntu distribution is CanonicalGroupLimited.UbuntuonWindows_79rhkp1fndgsc).
Using the new environment
You can now open the new environment using
wsl -d <new distribution name>
e.g.
wsl -d UbuntuDev1
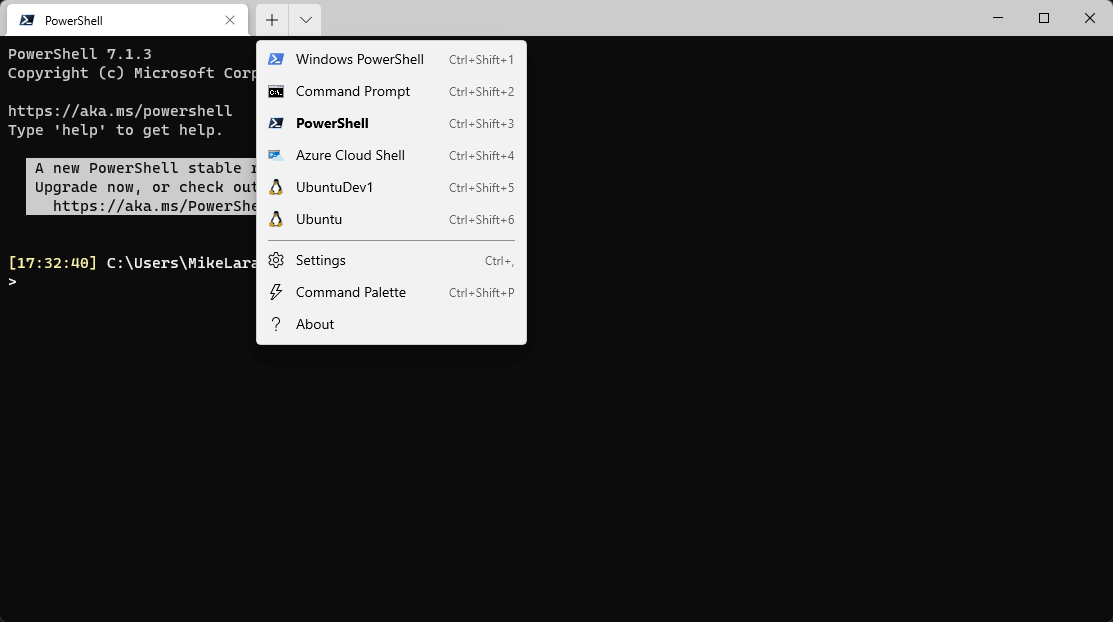
If you use Windows Terminal, you should also see the new environment appear in the dropdown list of profiles.

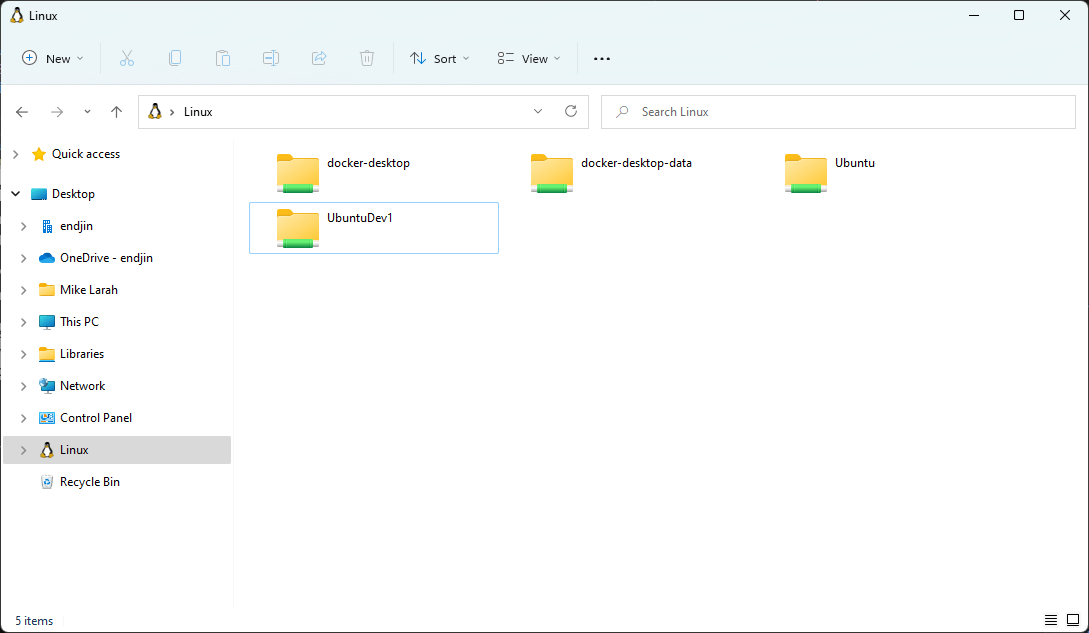
And if you are using Windows 11, you can browse the Linux filesystem for the environment in File Explorer.

You may notice when you open the environment that it has logged in as the root user instead of a custom user that you set up as part of the "base" environment. The custom user exists, but is not configured as the default. You can either start the environment using:
wsl -d <new distribution name> -u <username>
or you can create/update a wsl.conf file in the /etc directory inside the environment, with the following section:
[user]
default=<username>
which will configure WSL to log in with your custom user by default, without having to pass the -u <username> flag.
You can use a single command to create or append the conf file, e.g.
tee -a /etc/wsl.conf <<EOF
[user]
default=mikelarah
EOF


